
Fun marine-themed crafts for the holidays
The school holidays or long weekends can be a great time to unwind and have some fun with the family. At the Save Our Seas Foundation Shark Education Centre we have run many holiday clubs and have tried out many fun crafty activities with the kids who have come along to attend these programmes.
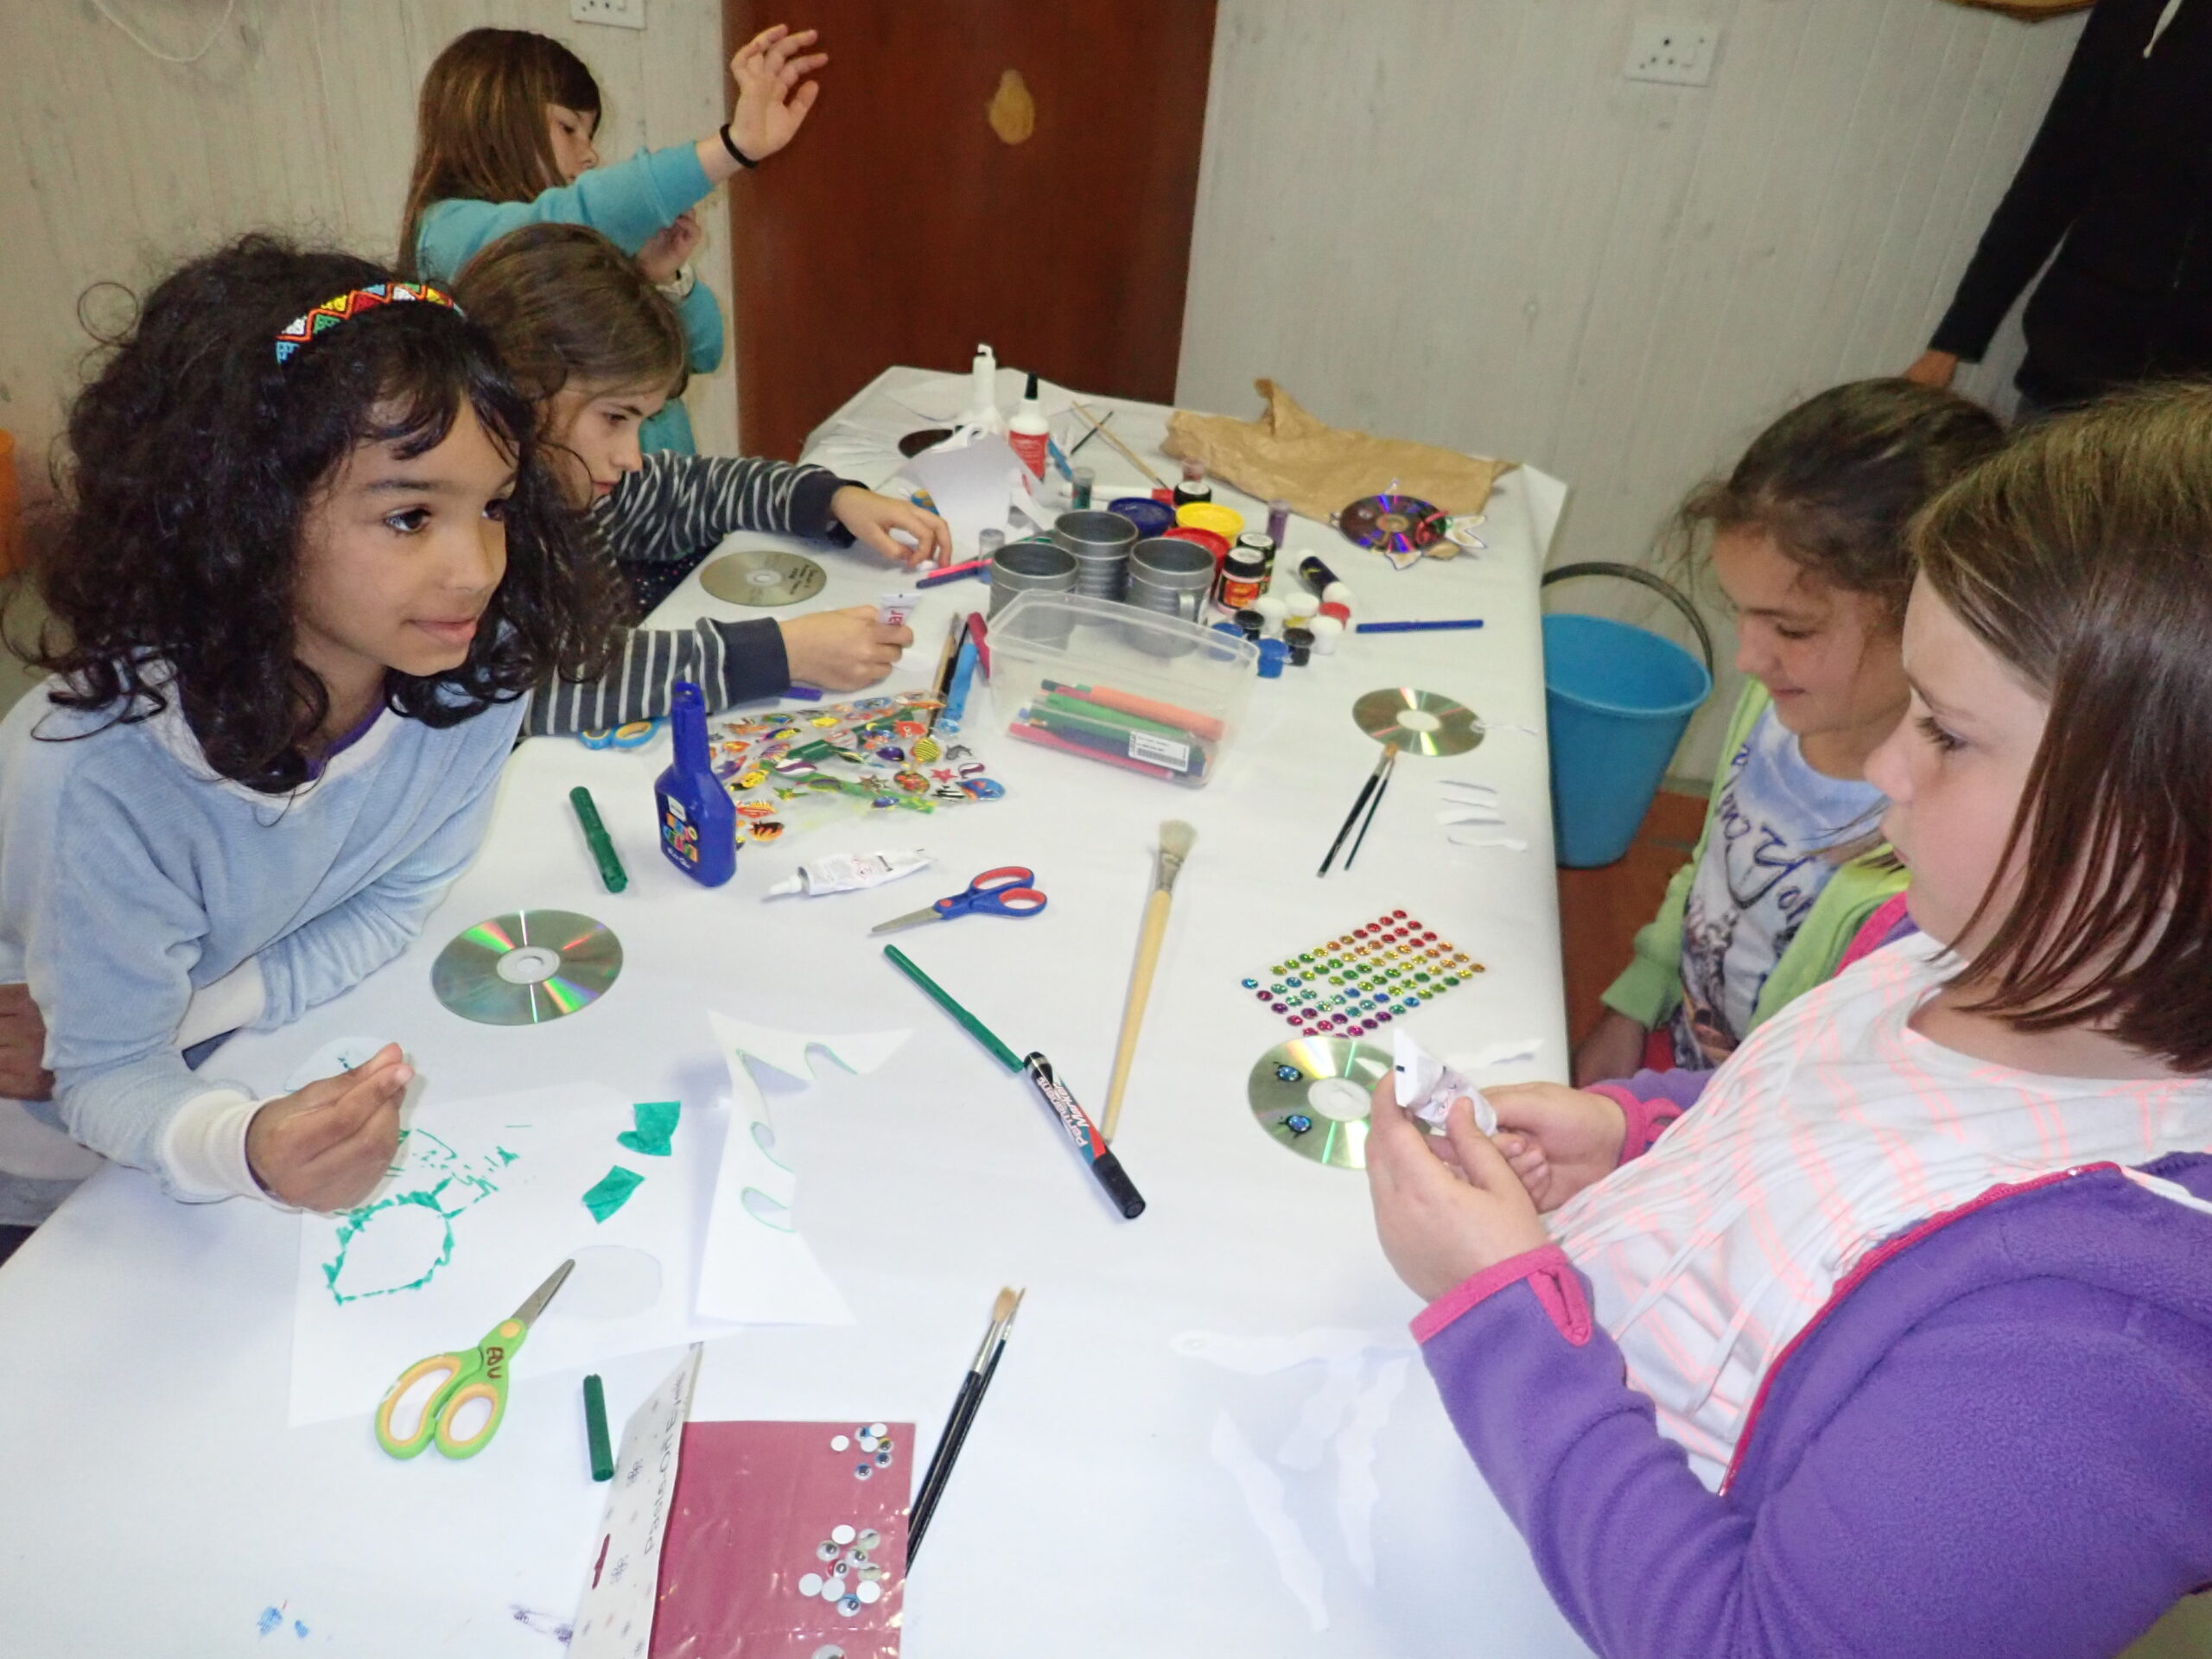
Since we are not able to run our holiday clubs, we thought we might give you some ideas of fun marine themed craft activities to do at home with the kids. Most of the items needed to make these crafts you might already have around your home.
Compact disc (CD) ornaments
You will need:
· Some old CD’s
· Stickers (optional)
· Paper (Stiff paper is best from cereal boxes or magazines covers)
· String
· Paint or Markers to decorate
· Glue
This is a super easy craft for beginners and the beautiful creations can be hung up in your room or garden and look very pretty when the catch the light.
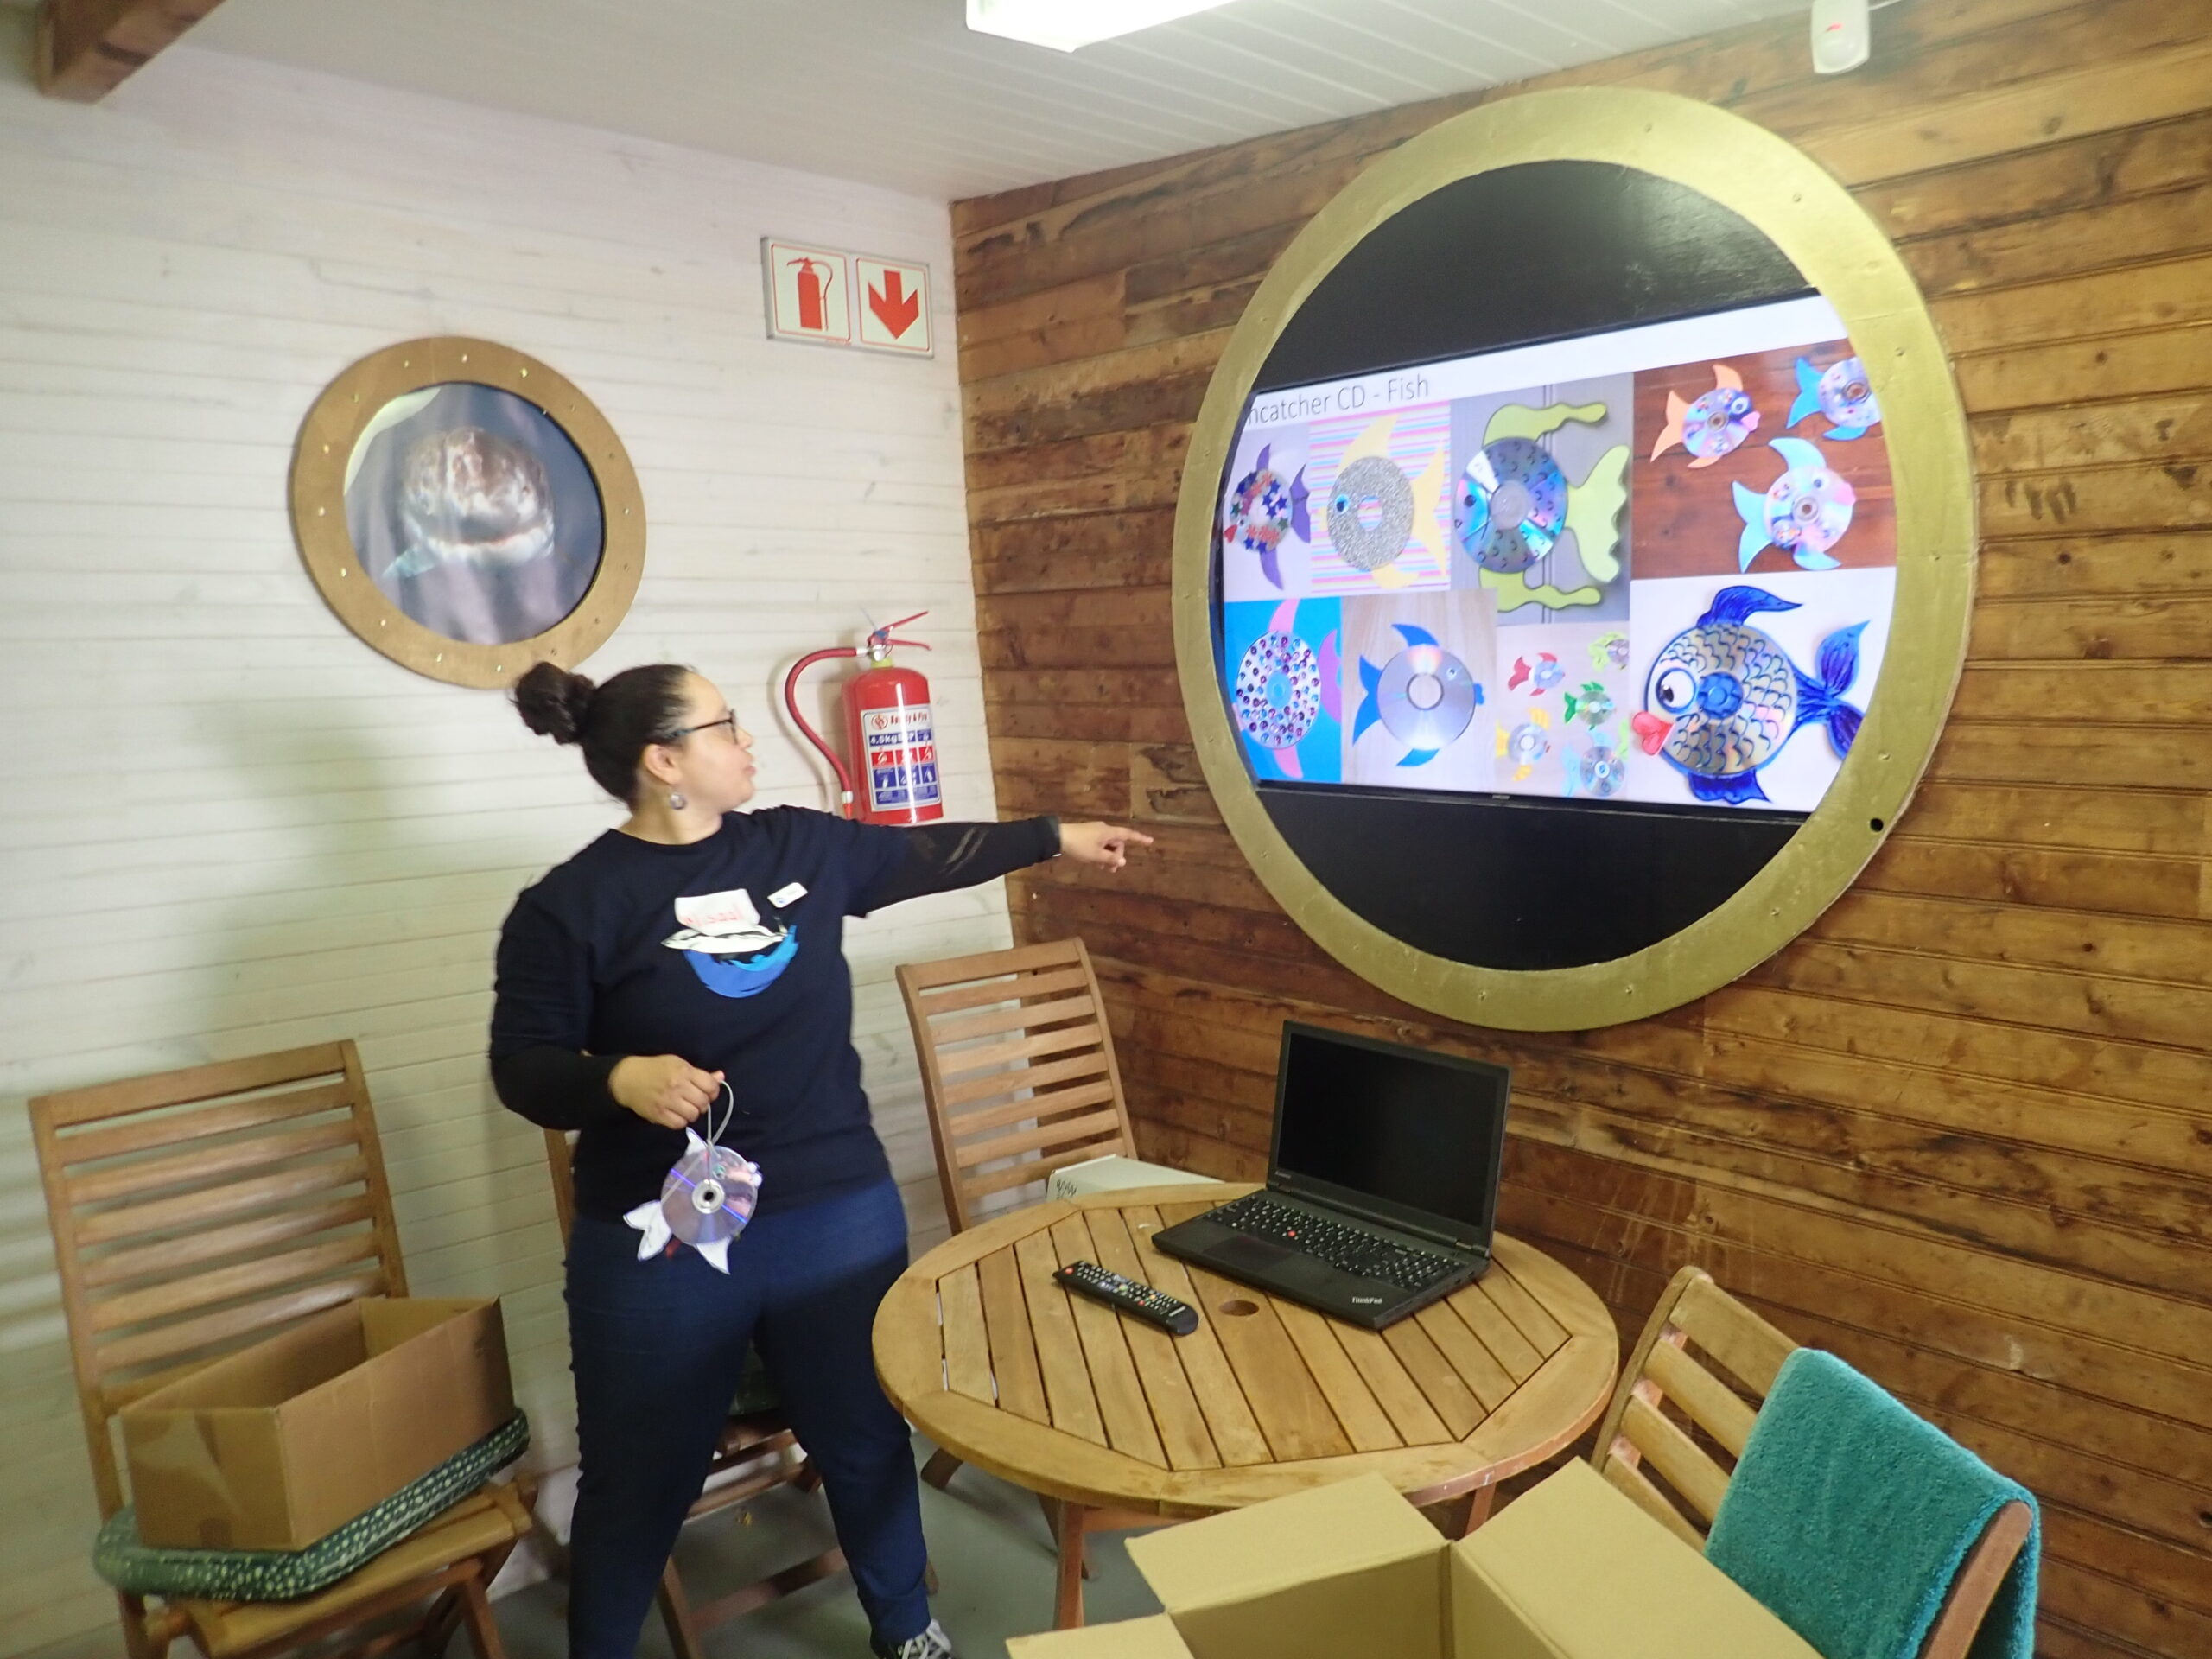
What to do:
· Cut out some fins and a mouth if you want to make a fish or a turtles head, fins and tail out of paper
· Stick these to a CD
· Stick two CD’s together with the shiny side out
· Decorate with stickers or pens or paint
· Loop a string through the centre, tie a knot and hang up in your room
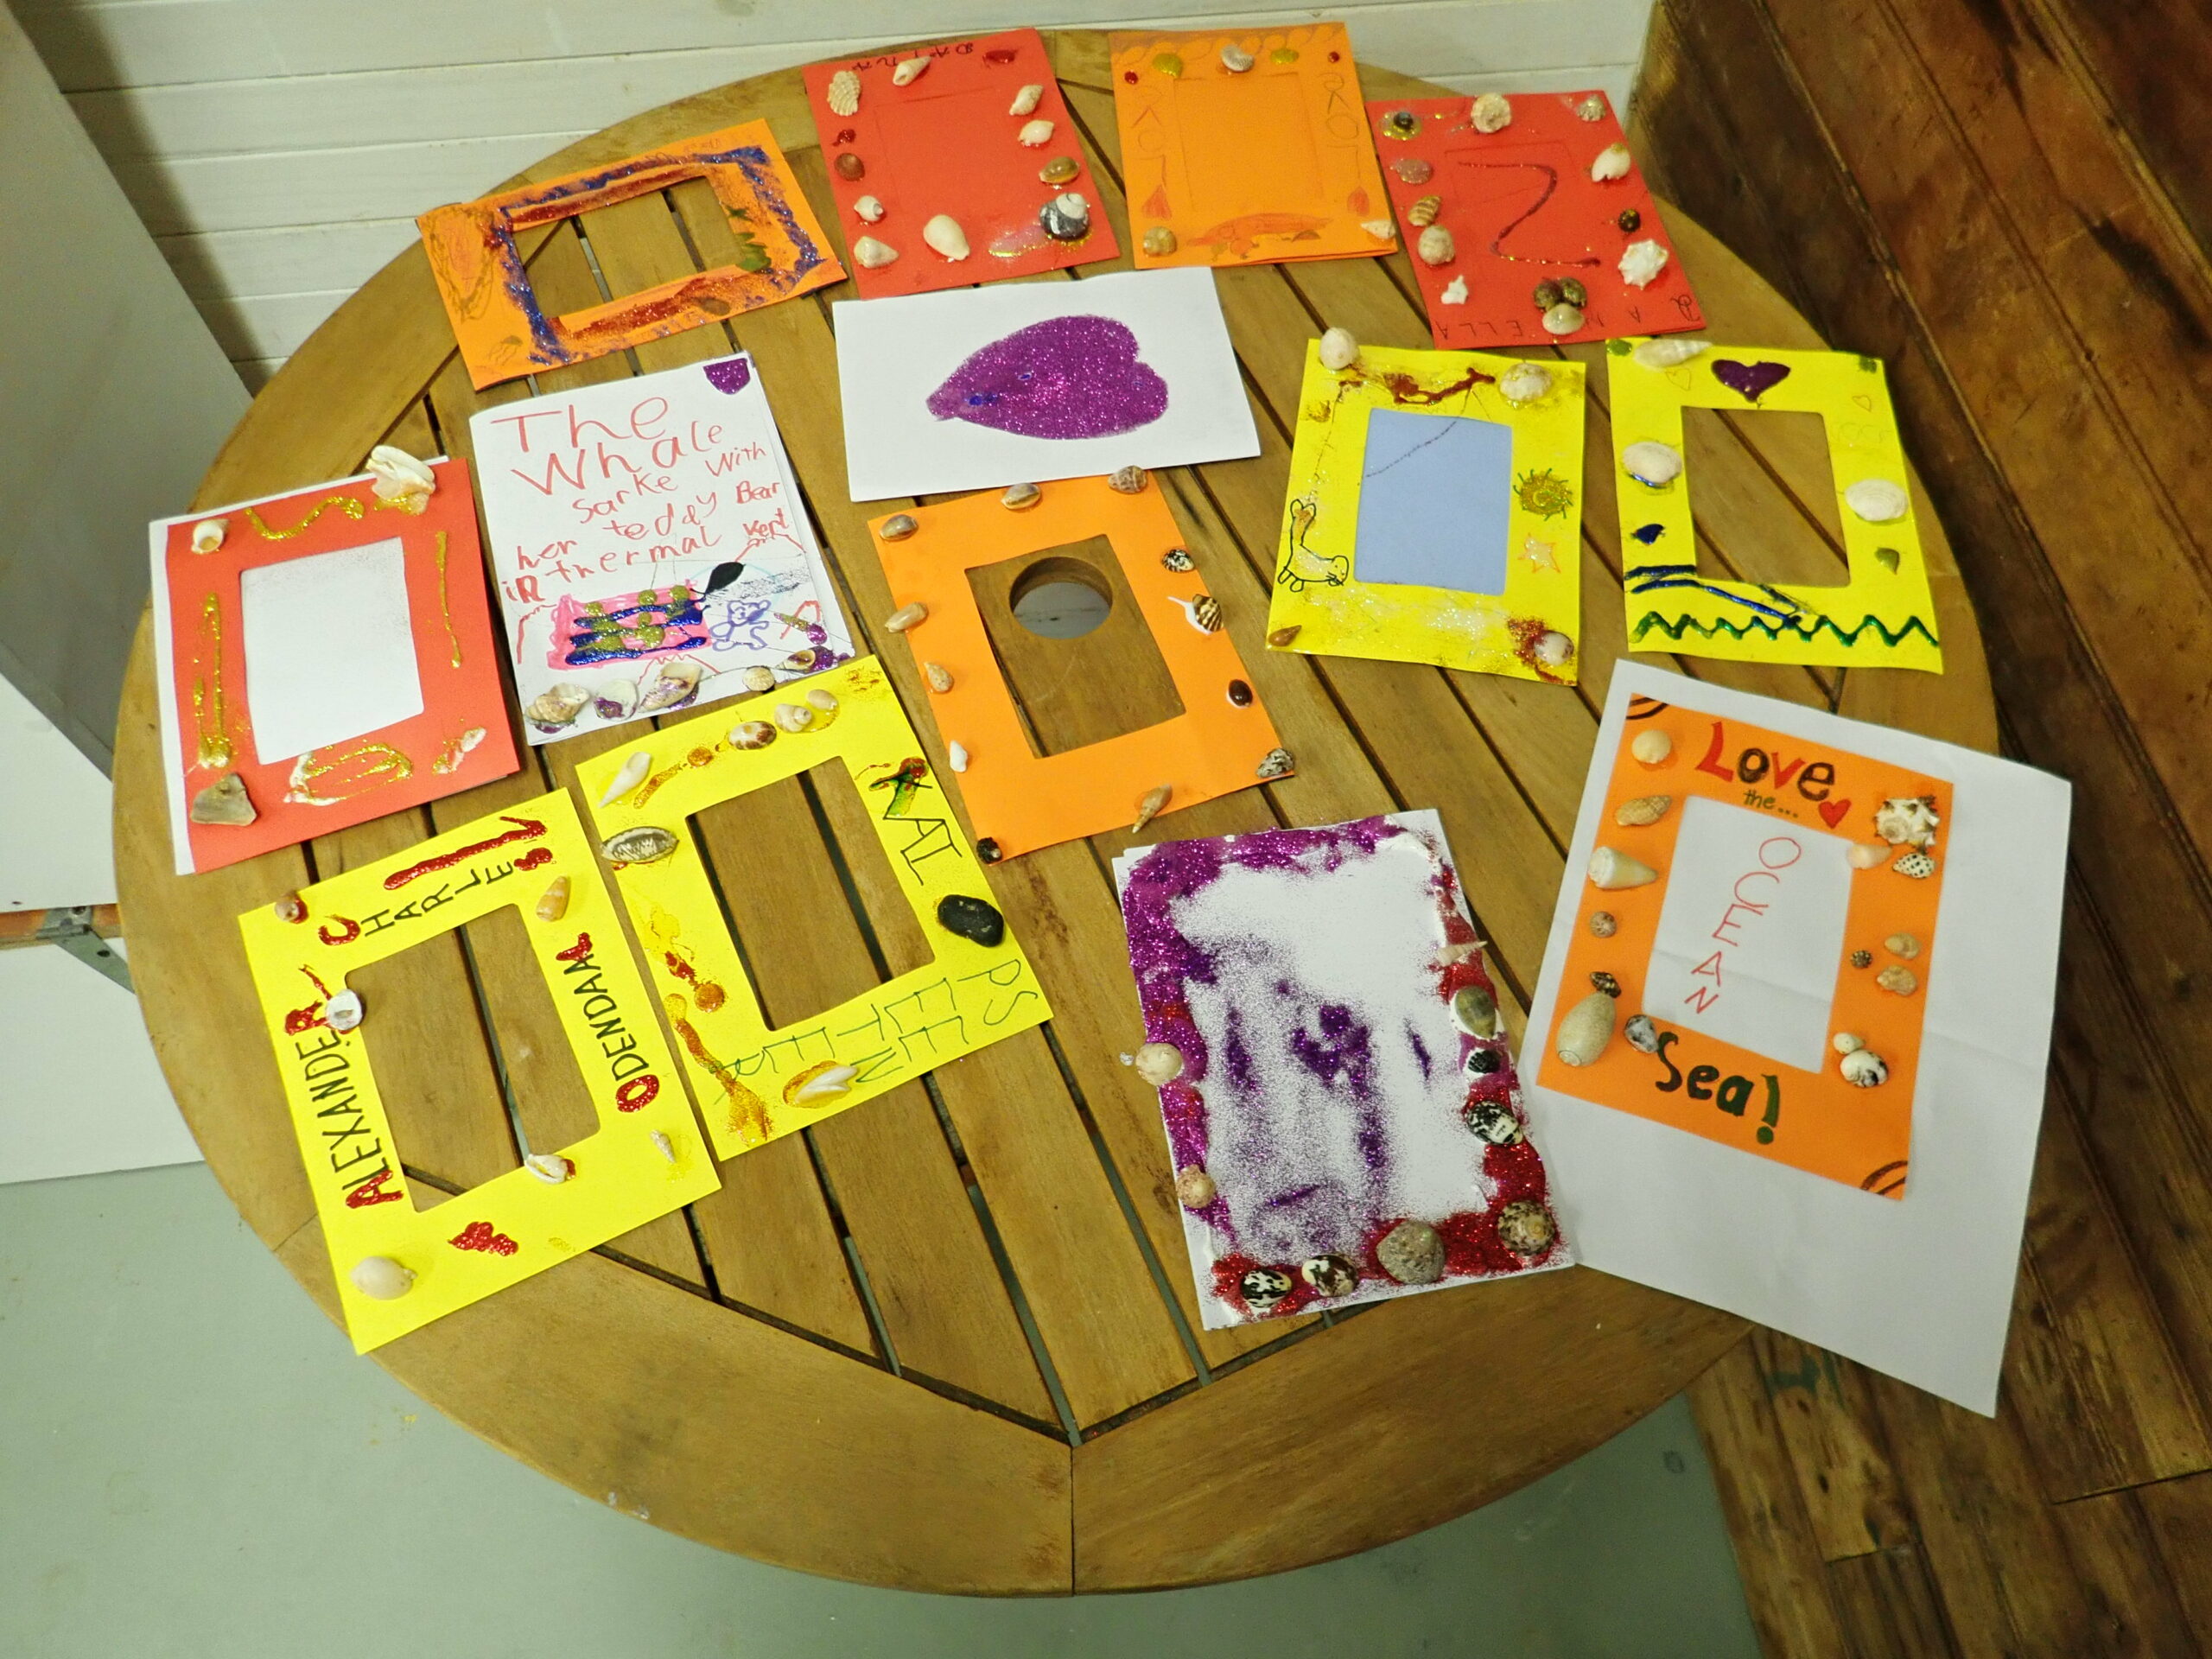
Shell picture frames
You will need:
· A4 size Card (cereal boxes work well) or stiff paper
· Glue
· Shells
· Markers, Crayons
· Any other crafty bits and pieces laying around the house, pictures from old magazines, leaves and sticks from the garden, left over bits of fabric, ribbon or wrapping paper
· Scissors
What to do:
· Fold the A4 size Card in half
· Draw a box on one half where you want your picture or photo to fit
· Carefully cut out the area with your scissors (ask a parent to help with this part – it can be a bit tricky!)
· Glue the bottom and one side edge together with glue to form a little pocket
· Decorate the frame just the way you like it (be careful not to make it too heavy) or write a message on the frame
· Pop the photo in the frame and enjoy your lovely framed picture
Salt dough shark tooth necklaces
You will need:
· 2 cups flour
· 1 cup salt
· 1 cup water
· A bowl for mixing
· String
· White craft glue (optional) to seal the creation or make it look shiny
· Paintbrush (optional)
· Paint (optional)

What to do:
· Place the flour and salt in a bowl and mix in the water a little bit at a time and mix well
· Keep adding a little bit of water and mixing until you can work with the dough
· Take it out and form it into a triangle shape
· Then use the butter knife to make little serrated edges on the tooth
· Make a small hole at the top of the tooth using a little stick
· Leave it to dry overnight, the bigger the tooth the longer it will take to dry
· Use a paintbrush and the white craft glue to seal it if you want
· Measure the string to make sure it is long enough for a necklace, thread it through the hole in the tooth and tie a small knot.
If you like this one then why not try making more fun shapes for your next personalised necklace?
